This is how I got into the 10ZiG 59xxq.
The top of the 59xxq carries a cover reminiscent of the hidden USB compartment of the
58xx range. This is held in place by a single screw. Remove the screw.
Unlike its predecessor this is not a hinged cover and you remove it by sliding it a
short distance to the rear and then lift it clear. The cover actually carries a knock-out
at the rear and is intended to act as a mounting point for an optional WiFi antenna.
Looking down into the previously hidden compartment you can see a number of screws.
It is the one circled that you need to remove to free up the right-hand cover.
(Right-hand when looking from the front).
At this point you should be able to slide the cover a little way towards the rear and
then lift it clear.
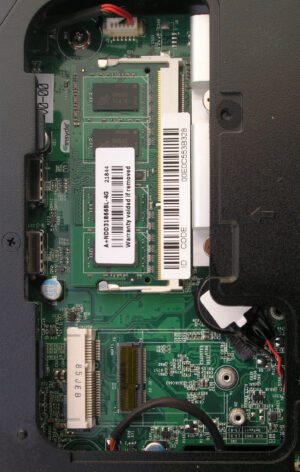
This reveals the cut-out in the side metalwork that provides access to the RAM and a couple
of sockets for peripherals.
I am slightly confused at this point as I expected the access hole to be covered by
a metal shield. Whilst you can see the outline for it and the fixing screw location there was
no shield fitted. I assume that some cack-handed
technician failed to refit it in the past.
Note: Without such a shield in place I doubt the hardware would pass any EMC
(Electro Magnetic Compatibility) test.


