

This is how I got into the 10ZiG 58xx.
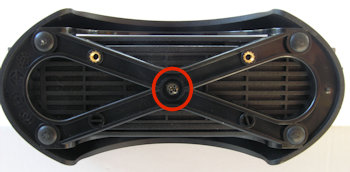
Start by removing the stand. This is held by a single screw.
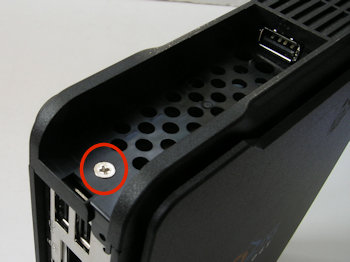
Open up the hidden USB compartment on the top of the 58xx. This will reveal a single
screw close to the back panel. Remove this screw. You will then be able to slide the
top cover to the rear and lift it clear.
Note: I subsequently got a 58xxq. With this one the compartment lid was held shut by a small crosshead screw for which you'll need a suitably sized screwdriver. I guess this is probably the norm and the screw had long since been lost from the 58xx example of mine.
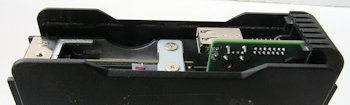
View of the 58xx after the top cover is removed.

Looking down you need to remove the screw circled in red. This will let you remove
the side cover.
The two screws circled in blue hold a small metal bridge in place that prevents the SATA DOM being removed. You only need to undo these if you want to remove the DOM.

Having removed the screw you will be able to slide the side panel back a a few mm and
then lift it clear.
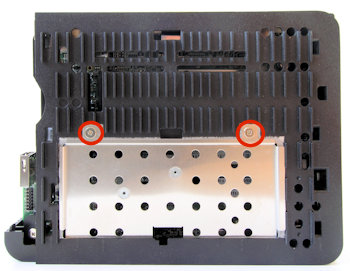
With the side panel out of the way you'll see a metal panel that covers about half the
area of the circuit board. Remove the two screws after which you can remove the panel.

With the cover removed you have access to the socketed memory and also another
SATA socket.